Showing posts with label Saving Money. Show all posts

Thursday, July 12, 2012

Amazing Diaper Deal!

Pin It


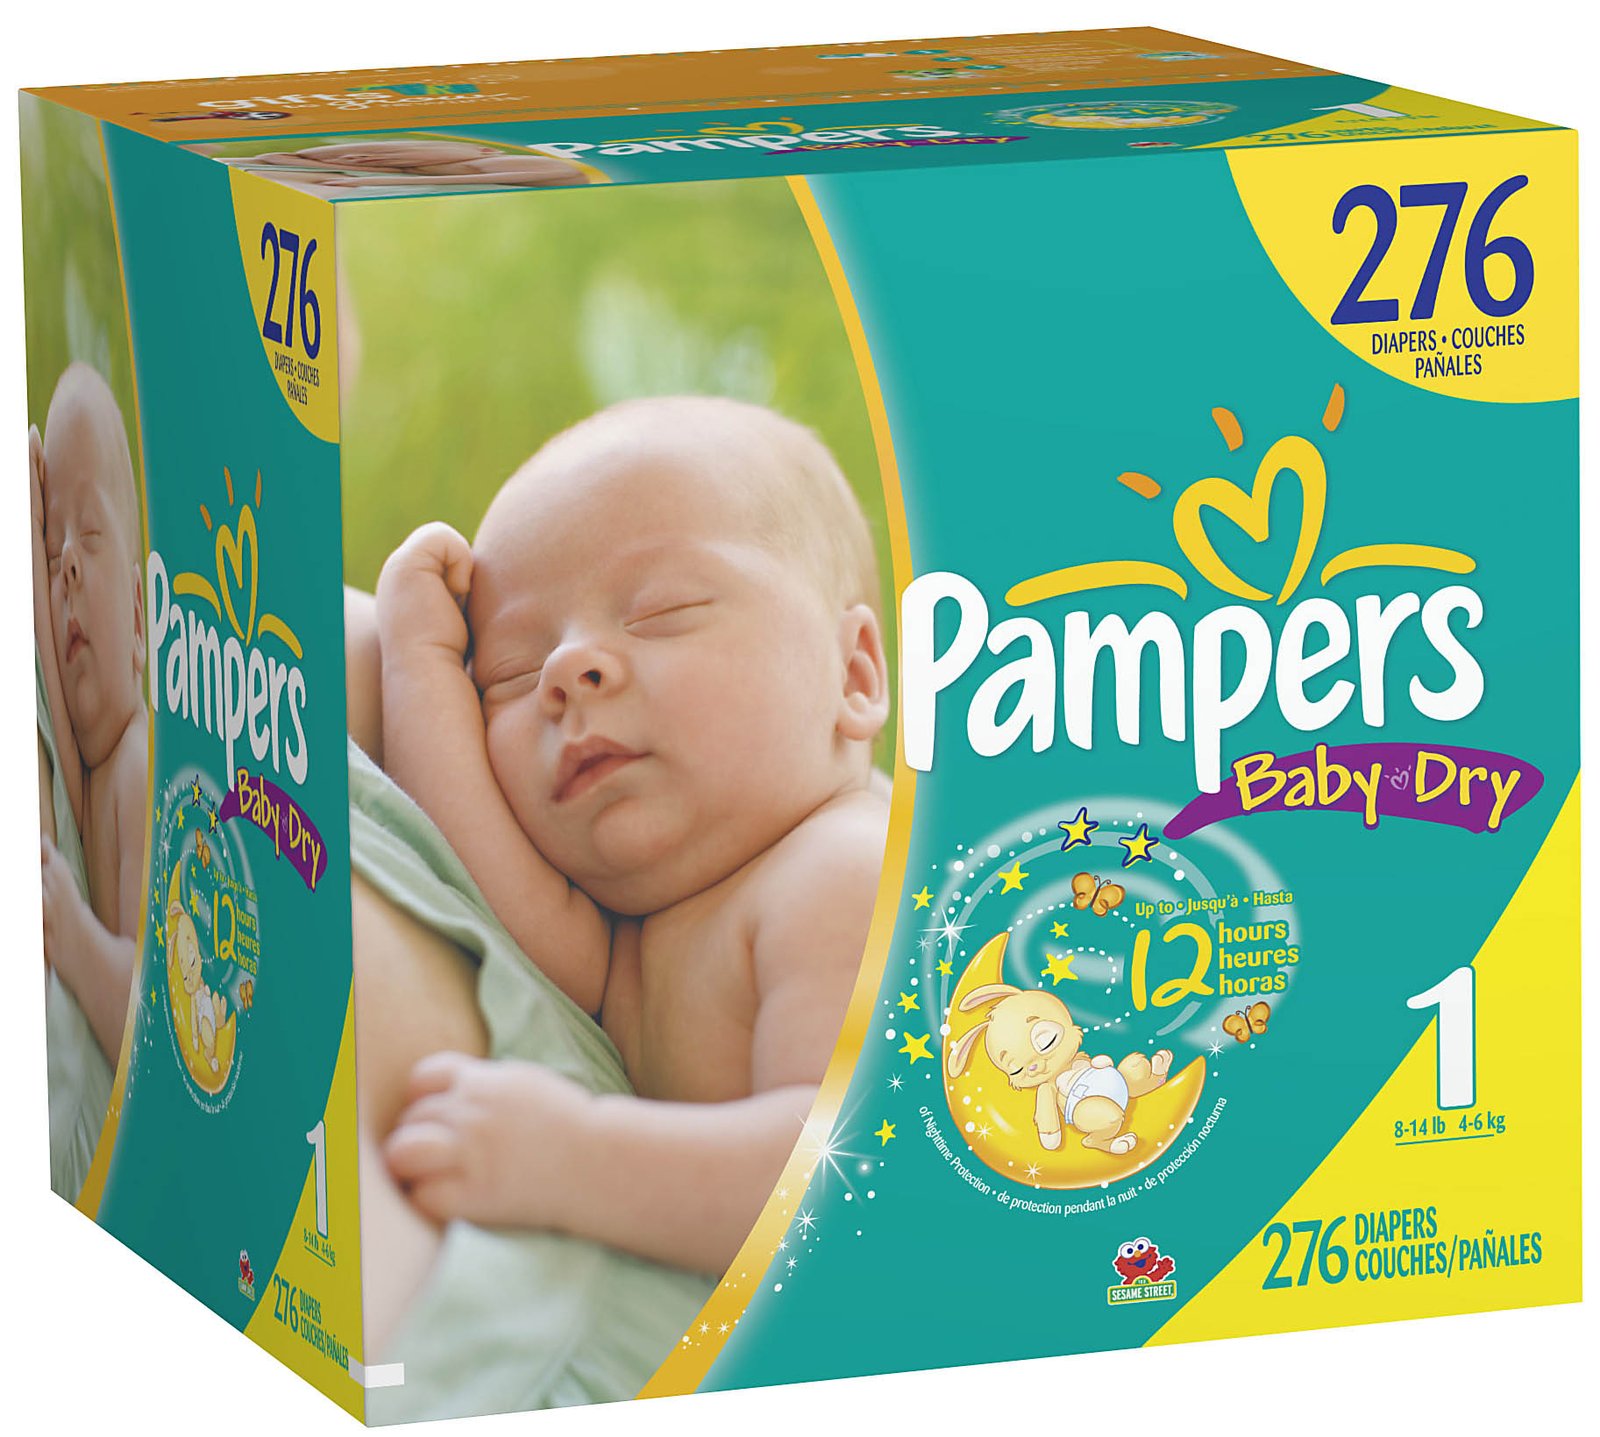
I find myself thinking about how expensive diapers are whenever I change my son's diaper and then literally 10 seconds later he decides to fill a new one.  I mean....really?  Well I have some really good news for all you mom's with kids in diapers.  There is a slammin' good deal at Diapers.com You can clip a $3.00 off coupon AND use the code OHBABY10D to save a total of $13!  Plus, shipping is free! 
Note that the promo code for the $10 off is valid for FIRST TIME diapers.com orders only.
The best deal is on the Pampers Baby Dry XL Packs. Original price is $49.49 but with the $3.00 coupon and the $10 off the price drops down to $36.49.


The Pampers Swaddler XL Packs are also available with this promotion too. They are regularly priced at $49.49, but just don't come with as many diapers.  But once again, with the coupon and promo code the price will drop down to $36.49.
If you aren’t a first time diapers.com buyer you can still clip the $3.00 coupon. You can still score a free 24ct pack of Pamper’s wipes with a purchase of a case of Pampers diapers. You will need to use code PAMPGIFT at checkout.

Wednesday, September 28, 2011

Amazing Walmart Clearance Sale!

Pin It Today I went to the Orem, Utah Walmart and they were having a huge clearance sale on their girls summer clothes. 
How much did I pay for all of these clothes you ask....$12!!!  That's right!  They are selling these adorable outfits for $1 each!  And the shirts on the top came in sets of 2 for $1.  Sure, I went all out....but now I'm ready for next summer!  Check out your local Walmart to see if they are having the same deal.  It's seriously amazing!

Tuesday, July 26, 2011

Freezing Basil

Pin It Earlier this year, I had a basil plant in my house.  It was fantastic to have fresh basil for spaghetti sauces and whatnot and it only cost me $3.  Well on a short trip to Idaho I kind of forgot about the plant.  When I got back he was looking rather sad and I didn't think he would make it.  Well I watered him and he came back!  Yay!  We were only gone for 3 days, but on our trip to California we were going to be gone for over a week so I knew the basil wouldn't make it.  I did some research about how to store fresh basil.  There were several techniques, and I'm not sure if one is better than the other, but I ended up doing a freezing technique.


How to freeze basil cubes
  1. Harvest the basil leaves
  2. Wash, pick the leaves off the stalk and then use the salad spinner to spin out most of the water
  3. Pat dry with kitchen towels
  4. Stuff the herbs in ice cube trays
  5. Fill the tray with water. Use your fingers to push the leaves down into the water as much as possible as they tend to float. 
  6. Place the ice cube tray in the freezer
  7. Once the ice cubes are frozen, remove them from the tray and transfer to zip-lock bags
  8. These cubes are now ready for use
You can simply add the ice cube to your spaghetti sauce or whatever else you are cooking.  It's wonderful!!!

Thursday, June 16, 2011

What Not To Buy In Bulk

Pin It I saw this article today on things that aren't a good deal when you buy them in bulk.  I think a lot of times we assume that when you buy something in bulk that you are getting a great deal.....well....as it turns out that isn't always the case.  Go here to see the list of things to avoid buying in bulk.

Saturday, May 28, 2011

Shell Bead Bracelet

Pin It
Sorry I've been gone for a bit.  My daughter has been sick this past week and I also went and attended a photo workshop on flash.  If you would like to see the pictures I took while at the "Flash Camp" visit my photo blog.
 
I got some shell beads off of ebay for cheep.  The only bummer is they take about a month to get to you since they are coming from China or something and it's free shipping, but hey....I'll take em :)  I added the beads onto elastic jewelry thread.  I learned a trick to keep the elastic thread from coming untied and that is to tie it tight and then put a drop of super glue on the knot.  It's worked wonders!  The package came with 8 beads, but I only needed 7 to fit my wrist....so now I have an extra bead to use - yay!  I'm going to apologize ahead of time for the pictures.  My brother has my good lens and the one that I was using really wasn't good for this purpose.  Hopefully you can get the general idea of what it looks like.


Monday, May 23, 2011

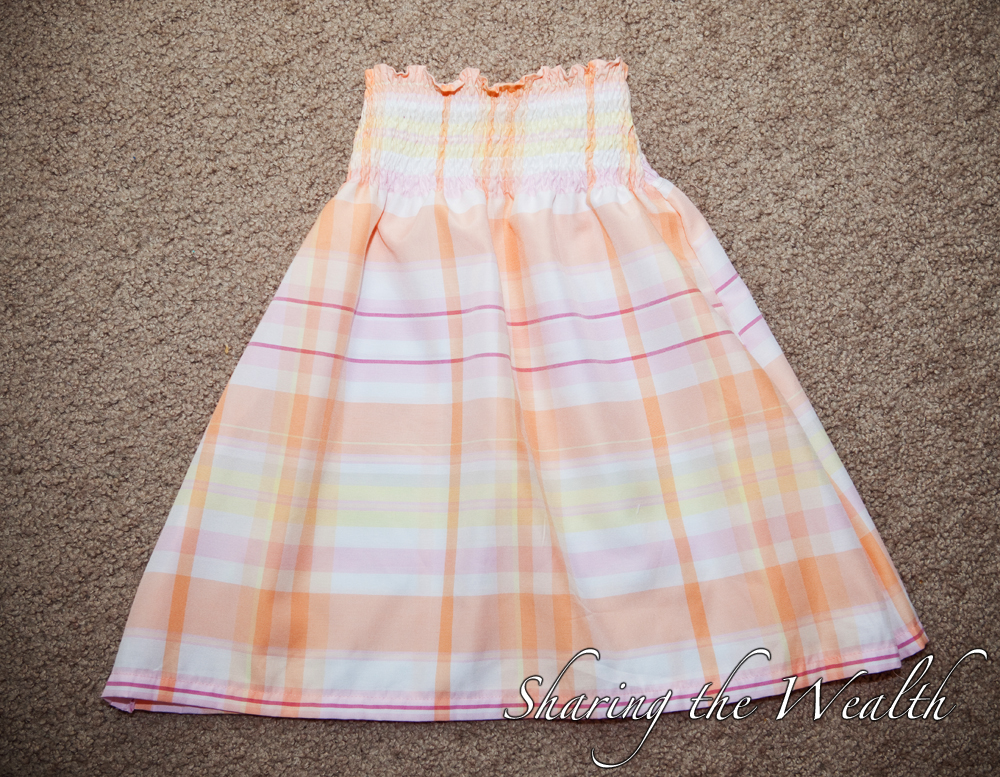
Dress to Skirt

Pin It My younger sister gave me a bunch of clothes that she doesn't wear anymore.  I love "hand-me-ups" especially now that I'm a poor married person without any cute clothes.  One of the dresses she gave me wasn't really something I would wear, but I liked the fabric.  So I decided to make it a skirt instead.  This was honestly SO easy!  Here's what I did:

This is the dress before I cut it up.
 I cut the top part of the dress off and was left with what looked like a skirt.
 I simply folded down the top edge and sewed a few rows with elastic thread to get the finished product.  SO easy!  The bottom was already finished since it was the bottom of the dress so I only had to worry about the top.  Now I have a fun summer skirt! 

Friday, April 15, 2011

Easter Dress From A Shirt

Pin It
My mom was cleaning out her closet when she saw a shirt that she thought I would like to revamp into something for my daughter.  I'm so glad she saved it!  I've been holding onto it for a couple of months since I thought it would make the cutest little spring dress.  My family has a tradition of getting an Easter dress each year.  Rather than buying one for for my daughter, I decided to use my mom's old shirt.  Here's what I did:
This is what the shirt used to look like (I started to cut it up and then realized I hadn't taken a picture of it yet, so I put it back together for this shot ha)

Here are the different pieces I cut the shirt into.  I had to unpick the little pleats that were on the front of the shirt.  I sewed the two large pieces together on one side. 
 I and wound my bobbin with elastic thread.
 I sewed several rows with the elastic thread (only the bobbin is the elastic thread, you use normal thread on the top).  I then sewed the other side together,  to get this.  I could have made a pretty cute skirt too hu?
 I then added sleeves - since my daughter was down for a nap when I was making this, I wasn't able to measure....and when I tried it on her, the sleeves were too small; her arms only fit in until her elbows haha.
 So I changed the sleeves - which I actually like better and added some little ruffles on the outside.
 The finished product on my darling model.

Sorry I didn't take more step by step pictures.  I was trying to hurry and get it done while she was sleeping.  Please let me know if you have any questions!

Monday, April 11, 2011

Twisty Tie Bird's Nest Necklace

Pin It
Bird's Nest Necklaces are definitely popular right now, but they can be fairly expensive.  I saw this tutorial the other day on A Law Student's Journey where she made a birds nest using twisty ties and thought it was an absolute genius idea!  I had to try it out for myself.  Here's what you do:

Using pliers or tweezers, Pull the wire out of some twisty ties.  I found it pretty easy once I cut the top a little so I could grab the wire part. 
 Once you have all of your wire's (I used 7 twisty ties), add 3 pearl beads to one wire.  Bring them to the center of the wire and then twist the wire so they stay in the position you want them. 
 Wrap wires around the beads, until you have the desired size of next.
 Add a necklace hoop and chain for to the nest to make it a necklace.  It seriously took me maybe 10 minutes to make.  So fast and easy!

Friday, February 25, 2011

Adult Sweater Turned Into A Kids Sweater

Pin It I've been holding on to an American Eagle sweater of mine for a long time even though it shrunk and was way too small for me.  I've nearly thrown it out many times, but just didn't.  Well today was the day that I finally found something to do with my sweater.  I fixed it up so it would fit my daughter.  I must say, she looks much better than me in it :)

Here is the sweater before I cut it up.
 I cut off the sleeves and cut the f front and back apart.  I didn't want to have the AE symbol on the sweater or the big tag in the back.  I cut me made up pattern, shortened and thinned out the sleeves and sewed away.
Here is the finished product.
 And from the back.  She LOVES watching the washing machine.

Sweater Dress

Pin It
My husband recently cleaned out his closet and was about to toss this sweater when I stopped him.  I was so excited to make a sweater dress for my daughter!  I will admit, this sweater was a little challenging to sew just because even if you sew in a straight line, sometimes it looks misshapen, but I love how the dress turned out!
Here is the sweater before I cut it up.
 I cut off the sleeves.
 Using another dress as a reference, I cut the remaining pieces - not shown in this picture is the bottom part of the dress - sorry!
 I sewed a brown ribbon around the dress.  I sewed a couple little pleats on the front and added a zipper to the back so the neck could be like a turtle neck.  Here is the finished product.  Now she just needs a headband to match :)


Publish Post

Thursday, February 10, 2011

14 Ways to Save Money of Groceries

Pin It I found this article on Yahoo by Rebecca DiLiberto the other day and thought it had some good tips.

1. Line the bottom of your refrigerator’s crisper drawer with paper towels. They’ll absorb the excess moisture that causes vegetables to rot.

2. To keep herbs tasting fresh for up to a month, store whole bunches, washed and sealed in plastic bags, in the freezer. When you need them, they’ll be easier to chop, and they’ll defrost the minute they hit a hot pan.

3. A bay leaf slipped into a container of flour, pasta, or rice will help repel bugs.

4. Stop cheese from drying out by spreading butter or margarine on the cut sides to seal in moisture. This is most effective with hard cheeses sealed in wax.

5. When radishes, celery, or carrots have lost their crunch, simply pop them in a bowl of iced water along with a slice of raw potato and watch the limp vegetables freshen up right before your eyes.

6. Avoid separating bananas until you plan to eat them – they spoil less quickly in a bunch.

7. Put rice in your saltshaker to stop the salt from hardening. The rice absorbs condensation that can cause clumps.

8. Stock up on butter when it’s on sale – you can store it in the freezer for up to six months. Pack the butter in an airtight container, so it doesn’t take on the flavor of whatever else you’re freezing.

9. In order to make cottage cheese or sour cream last longer, place the container upside down in the fridge. Inverting the tub creates a vacuum that inhibits the growth of bacteria that causes food to spoil.

10. Believe it or not, honey is the only nonperishable food substance, so don’t get rid of the stuff if it crystallizes or becomes cloudy. Microwave on medium heat, in 30-second increments, to make honey clear again.

11. Prevent extra cooked pasta from hardening by stashing it in a sealed plastic bag and refrigerating. When you’re ready to serve, throw the pasta in boiling water for a few seconds to heat and restore moisture.

12. Keeping brown sugar in the freezer will stop it from hardening. But if you already have hardened sugar on your shelf, soften it by sealing in a bag with a slice of bread – or by microwaving on high for 30 seconds.

13. If you only need a few drops of lemon juice, avoid cutting the lemon in half – it will dry out quickly. Instead, puncture the fruit with a metal skewer and squeeze out exactly what you require.

14. If you’re unsure of an egg’s freshness, see how it behaves in a cup of water: Fresh eggs sink; bad ones float.

Friday, January 28, 2011

Cardboard Letters

Pin It

Okay, sorry it took me a while to post something.  I was in Hawaii basking in the sun :)  I'll post pictures soon.  Here is a little something I started before Hawaii and decided to finish up today.  I love those cute block letters everyone uses to decorate with, but rather than buying some I decided to make my own for free.  Sure they don't look perfect, but they get the point across and I'm sure when people come over they aren't noticing the little details.  Here's what I did:

I drew the letters on some cardboard I had left over from a box of diapers.
 Cut out my letters
 And painted them.
 I also painted a piece of cardboard for the base.  I used white pipecleaners around the base so you couldn't see into the cardboard.  I used hot glue to assemble them and wa-la!  In this picture you can really see the lines from the cardboard, which I don't love, but at my place they aren't as noticeable.

Wednesday, January 12, 2011

Tissue Gift Wrap Kissing Ball

Pin It
I have zero decorations for Valentine's Day so today I decided to make my first one.  The best part is that it was free!  I made a kissing ball out of computer paper and tissue wrapping paper.  Here's how I did it:

First I took some paper and crumpled it into a ball.  I continued adding layers and crumpling it until I got to the size I wanted.  I then glued the paper down to keep it in place.
 Then I made flowers using some red tissue gift wrap that I had on hand.
I glued the flowers to the paper ball as I went along.
I added a ribbon before I put the last flower on it so I could hang it up.  And that was it!

Thursday, December 23, 2010

Cute Hair Clip Holder

Pin It I've been trying to think of a cute way to store all of my daughter's hair clips.  I eventually came up with this:


I started with a piece of wood I found at Walmart for 97 cents.


I drew a little face of the wood.


Then using my acrylic paints, I painted the face - don't worry she looks better with hair.


For the hair, I used brown yarn: $2.50 at Walmart.  I used a hot glue gun and attached each strand of yarn individually so I would get a nice part.  Before I started to braid the hair, I used some green ribbon I had on hand to tie the yarn together.


I braided the yarn and tied the ends with the green ribbon.


Then she was ready for the clips!


All the supplies I purchased only cost me about $3.50 since I had most of the other supplies on hand.  I'm pretty pleased with her and am happy that I won't have all these clips just sitting in a bag getting mushed.

Tuesday, December 21, 2010

Amazon Mom

Pin It

I know I already did a post on diapers a while back, but I have found another awesome deal!  It's called Amazon Mom.  It's free as long as your are a mom, or a dad or a guardian pretty much.  You get 30% OFF diapers and wipes.  I was able to get a pack of 204 Pampers diapers fro $28 delivered right to my door!  How awesome is that???  You get to decide on how many packages you want and how often they get shipped to you.  It's gotta be the best deal around - at least that I've heard.  You can become an Amazon Mom HERE.