Pin It
In case you hadn't noticed, I haven't really posted on this blog for a while. Some of that was because I was busy and getting adjusted to having two kids, but the main reason is that I decided to start a new blog. My new blog is called Mommy Minutes. I tried to make it the type of blog I'd want to visit if I only had time to go to one. It focuses on being a mom and includes parenting advice (from several moms), kids crafts/activities, funny mommy moment stories, DIY stuff, recipes, etc.. Mommy Minutes has only been up and running for a week, but I'm excited about it. I'd love it if you'd come over and take a look. And I'd love to hear any parenting advice you have for mom's out there. Thanks everyone for your support!

Tuesday, September 4, 2012


Thursday, July 12, 2012
Amazing Diaper Deal!
Pin It
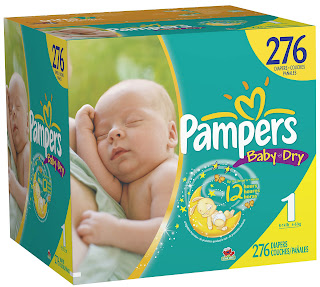
I find myself thinking about how expensive diapers are whenever I change my son's diaper and then literally 10 seconds later he decides to fill a new one. I mean....really? Well I have some really good news for all you mom's with kids in diapers. There is a slammin' good deal at Diapers.com You can clip a $3.00 off coupon AND use the code OHBABY10D to save a total of $13! Plus, shipping is free!
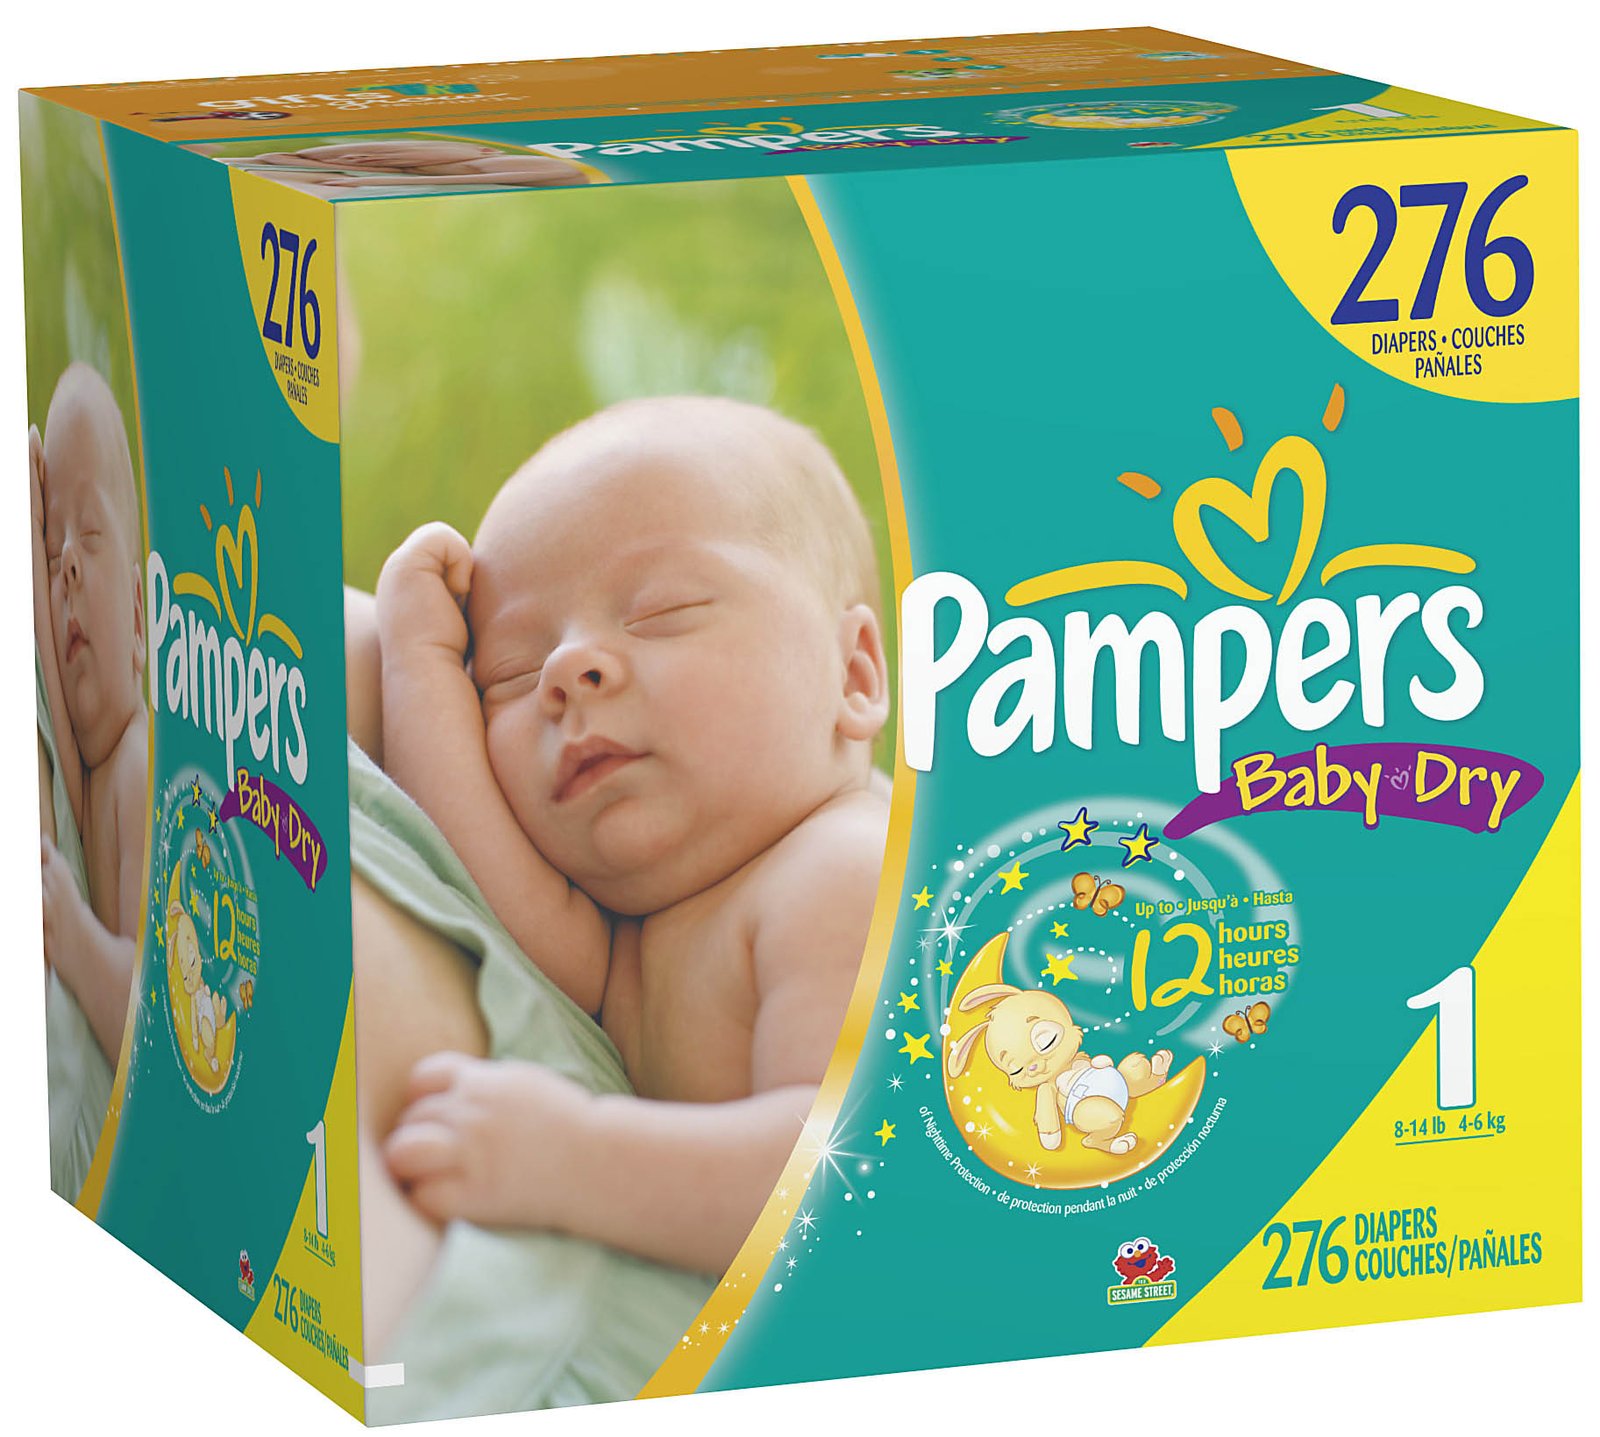
I find myself thinking about how expensive diapers are whenever I change my son's diaper and then literally 10 seconds later he decides to fill a new one. I mean....really? Well I have some really good news for all you mom's with kids in diapers. There is a slammin' good deal at Diapers.com You can clip a $3.00 off coupon AND use the code OHBABY10D to save a total of $13! Plus, shipping is free!
Note that the promo code for the $10 off is valid for FIRST TIME diapers.com orders only.
The best deal is on the Pampers Baby Dry XL Packs. Original price is $49.49 but with the $3.00 coupon and the $10 off the price drops down to $36.49.
The Pampers Swaddler XL Packs are also available with this promotion too. They are regularly priced at $49.49, but just don't come with as many diapers. But once again, with the coupon and promo code the price will drop down to $36.49.
The Pampers Swaddler XL Packs are also available with this promotion too. They are regularly priced at $49.49, but just don't come with as many diapers. But once again, with the coupon and promo code the price will drop down to $36.49.
If you aren’t a first time diapers.com buyer you can still clip the $3.00 coupon. You can still score a free 24ct pack of Pamper’s wipes with a purchase of a case of Pampers diapers. You will need to use code PAMPGIFT at checkout.
Saturday, June 23, 2012
Photo Shoot Gieveaway
Pin It
I'm giving away one FREE photo shoot and two 50% off shoots over on my photography blog. Go check it out! http://madelynwphoto.blogspot.com/


Thursday, May 17, 2012
Ginger Lime Sorbet
Pin It

If you are looking for a refreshing kick in the mouth this is the sorbet for you ha. It really is quite delicious and perfect for a hot summer day. Don't let the ginger part scare you. You can leave it out if you really want and you'll still be left with a yummy lime sorbet, but I think the ginger is a nice little flavor to have and isn't overwhelming at all. It's a really simple recipe and not that difficult to make at all - the hardest part is juicing the limes. The only downside is that if you don't have an ice cream maker, you'll have to be home the majority of the day so you can scrape the pan (more on that later).
Recipe
2 Cups Sugar
2 Cups Water
1 Tbs. Lime zest
1/2 - 1 tsp. Freshly grated ginger
1 Cup Fresh lime juice


 If you have an ice cream maker, after the hour of chilling in the fridge, you'd put the mixture in your maker and in no time you'd have a lovely sorbet. If you don't have an ice cream maker, place the pan in your freezer. Come back every hour or so and scrape/stir with a fork.

 Make sure to serve it right out of the freezer. It tends to melt quickly. And honestly, since it's so flavorful, you really only need one big scoop.
 If you want to store it for a few days, I'd store it in a container with an airtight lid. It won't store for more than a week or so because it will get really hard and frostbitten.

If you are looking for a refreshing kick in the mouth this is the sorbet for you ha. It really is quite delicious and perfect for a hot summer day. Don't let the ginger part scare you. You can leave it out if you really want and you'll still be left with a yummy lime sorbet, but I think the ginger is a nice little flavor to have and isn't overwhelming at all. It's a really simple recipe and not that difficult to make at all - the hardest part is juicing the limes. The only downside is that if you don't have an ice cream maker, you'll have to be home the majority of the day so you can scrape the pan (more on that later).
Recipe
2 Cups Sugar
2 Cups Water
1 Tbs. Lime zest
1/2 - 1 tsp. Freshly grated ginger
1 Cup Fresh lime juice
Put the sugar, water, lime zest and freshly grated ginger into a saucepan (use a microplane for your zest and grated ginger so the pieces are nice and fine).

Boil until the sugar is completely dissolved.

It will look like this when the sugar is dissolved - nice and clear.

Pour the simple syrup into a glass cake pan. Now for the hardest part of the whole recipe - juice limes until you get 1 cup of fresh lime juice. A trick with limes is pop them in the microwave for 10-15 seconds before you juice them, it will help you get a lot more juice from each lime. Once you get 1 cup of lime juice, straight out the pulp and pour that into the cake pan, stir until everything is combined. Place the dish in your refrigerator for 1 hour so it will get a little chilled.


Continue to do this for several hours, until your sorbet is nice and frozen and the consistency you're wanting. If you have some big chunks, you can always pop in in the blender to get it smooth again.


Monday, May 14, 2012
Brownie Fruit Pizza
Pin It

For Mother's Day I wanted to make my mom a special dessert. I thought a fruit pizza would be delicious, and then I was told that they had fruit pizza two weeks ago. So it was back to the drawing board. I wanted to do something with fresh fruit and possibly chocolate. I considered doing molten chocolate cakes, but changed my mind because we wouldn't really want a warm dessert on a warm day. Then it came to me.....fruit pizza with a brownie crust rather than the cookie dough crust. Let's just say it was deliciously decedent yet refreshing. Here's what I did.
I baked 2 packages of Ghiradelli chocolate chunk brownies on a well greased cookie sheet. You can use any type of brownie mix you want. You may or may not need to use two packages depending on the amount of brownie mix comes in your box. You want your cookie sheet filled about 1/2 way or higher, I wouldn't really go thinner than that. It took 1 hour at 325 for my brownies to bake.


For Mother's Day I wanted to make my mom a special dessert. I thought a fruit pizza would be delicious, and then I was told that they had fruit pizza two weeks ago. So it was back to the drawing board. I wanted to do something with fresh fruit and possibly chocolate. I considered doing molten chocolate cakes, but changed my mind because we wouldn't really want a warm dessert on a warm day. Then it came to me.....fruit pizza with a brownie crust rather than the cookie dough crust. Let's just say it was deliciously decedent yet refreshing. Here's what I did.
I baked 2 packages of Ghiradelli chocolate chunk brownies on a well greased cookie sheet. You can use any type of brownie mix you want. You may or may not need to use two packages depending on the amount of brownie mix comes in your box. You want your cookie sheet filled about 1/2 way or higher, I wouldn't really go thinner than that. It took 1 hour at 325 for my brownies to bake.
I then spread my cream cheese frosting layer on the cooled brownies. And layered it with strawberries, raspberries and black berries.

I warmed up some seedless raspberry jam and drizzled it over the fruit pizza (I put it in a zip lock bag and cut the corner a tad in order to drizzle it because it wasn't thin enough to just use a spoon.

I then drizzled semi-sweet and white chocolate over the top. I then put it in the refrigerator until we were ready to serve the dessert.

Here's the recipe - Enjoy!
Brownie Crust
- 2 packages ghirdelli brownie mix (from the Costco box) - You can use whichever type of brownie mix you want.
- Eggs, oil and water that your brownie mix calls for
Cream Cheese Layer
- 2, 8 ounce packages reduced fat cream cheese, softened
- 2 1/2 cups powdered sugar
- 1 tsp. Vanilla
Toppings
- Strawberries
- Raspberries
- Blackberries
- Seedless Raspberry Jam
- Semi-sweet chocolate
- White chocolate
Tuesday, May 8, 2012
Baby Food Jar Spice Jars
Pin It


Well I was sick and tired of digging through my spices every time I needed one. I would spend forever trying to find the right container in the pile. I decided it was time to do something about it. I've actually been planning on doing this for a while, but finally got around to doing it and I'm so glad I did it!


How many of your spice drawers look like the one below? I hope I'm not the only one ha.

Well I was sick and tired of digging through my spices every time I needed one. I would spend forever trying to find the right container in the pile. I decided it was time to do something about it. I've actually been planning on doing this for a while, but finally got around to doing it and I'm so glad I did it!
I simply took old baby food jars and washed them. Then I spray painted the lids black.

After the lids were dry, I wrote the different spices on top using Elmer's Painters Pen. I will warn you to test your pen somewhere before writing on your lids. At first my pen oozed out a TON of paint.

Then I put the spices in the jars and put them in my drawer. I love it!!!

Friday, April 6, 2012
Help Jeromiah
Pin It
Jeromiah is a 14 year old boy with Duchenne Muscular Dystrophy. I've had the amazing experience of working with my ward and community to help raise money for Jeromiah so he can get a lifesaving back surgery that will straighten out his severe scoliosis. He recently had a surgery where they put a feeling tube in his stomach. Needless to say, his parents have a lot of medical bills - and they don't have insurance.
I greatly respect both of his parents. His mom is honestly one of the kindest people I know. Jeromiah's mom, Deborah, has three children from a previous marriage and moved here from England to marry her current husband. Bryce has one child from a previous marriage. I really look up to him for knowing what he was getting into with Jeromiah's disease and still be willing to taking it on, something even Jeromiah's biological father wasn't ready to do. Jeromiah's parents, Deborah and Bryce have their own letterpress company.
Jeromiah is a 14 year old boy with Duchenne Muscular Dystrophy. I've had the amazing experience of working with my ward and community to help raise money for Jeromiah so he can get a lifesaving back surgery that will straighten out his severe scoliosis. He recently had a surgery where they put a feeling tube in his stomach. Needless to say, his parents have a lot of medical bills - and they don't have insurance.
I greatly respect both of his parents. His mom is honestly one of the kindest people I know. Jeromiah's mom, Deborah, has three children from a previous marriage and moved here from England to marry her current husband. Bryce has one child from a previous marriage. I really look up to him for knowing what he was getting into with Jeromiah's disease and still be willing to taking it on, something even Jeromiah's biological father wasn't ready to do. Jeromiah's parents, Deborah and Bryce have their own letterpress company.
My brother filmed a documentary about Jeromiah. He's seriously an amazing boy. Jeromiah is very intelligent and kind. He scored in the top 10% in science in the nation for his age.
If you could please help us pass along his story by posting this video: http://vimeo.com/39743844 or his webiste: http://helpjeromiah.org/ on your blog, facebook, website, etc. so we can get help for his family to his back surgery and much more. Any little bit helps!Monday, March 26, 2012
Free Canon 5D Mark III
Pin It
Great news everyone. Pictureline is now giving away a FREE Canon 5D Mark III. I shoot with the 5D Mark II and I absolutely love it. I've entered to win, but I also think you should. It's super easy to enter too! You just have to "like" their facebook page and then fill out the entry form. Click HERE to enter.


Sunday, March 4, 2012
Sesame Street Birthday Party
Pin It

My friend has a daughter who turned two ten days before my little girl. We decided to do a combined birthday party. It was so fun and our daughters loved every minute of the party. We did a Sesame Street themed party. Here are some of the things we had at the party:


Sugar Cookie Bars

Sugar Cookie Bars

Giant Elmo Balloon
We bought it on Amazon for $12. The kids loved it, until it got body slammed by some boys and popped. I also saw the other day at the Dollar Tree that they have a normal sized Mylar balloon that's Elmo's head. It's only a dollar! That's a steal.

Fishing with Dorothy
The children fished over a sheet and would catch a prize.

Sesame Street Bowling


Oscar's Trash Basketball


Sesame Street Character Oreo Pops

Cookie Monster Cake
We got this at Smith's for about $15, which was a great deal considering we didn't have to spend the time decorating it ourselves!


My friend has a daughter who turned two ten days before my little girl. We decided to do a combined birthday party. It was so fun and our daughters loved every minute of the party. We did a Sesame Street themed party. Here are some of the things we had at the party:

Sesame Street Sign

Sugar Cookie Bars

Sugar Cookie Bars
1 Cup Butter, room temperature
2 Cups Sugar
4 Eggs
2 tsp. Vanilla
5 Cups Flour
1 tsp. Salt
1/2 tsp. Baking soda
Preheat your oven to 375 degrees. Mix butter and sugar together until fluffy. Add eggs, one at a time. Add vanilla and mix until well combined. In a separate bowl add the dry ingredients and stir. Then slowly add the dry ingredients to your mixer. Once all of the ingredients are incorporated, spread the dough onto a well greased cookie sheet (I use my hands to spread the dough out since it is so tough). Bake at 375 for 10-15 minutes or until a toothpick comes out clean (it won't really be golden brown). Let the cookies cool and then frost them.
Basic Sugar Cookie Frosting
4 Cups Powdered Sugar
4 tsp. Vanilla
1/2 Cup Butter, softened
3-4 tsp. Milk
Peanut M&M's
They were the perfect little addition for the table since they are Sesame Street colors.

Giant Elmo Balloon
We bought it on Amazon for $12. The kids loved it, until it got body slammed by some boys and popped. I also saw the other day at the Dollar Tree that they have a normal sized Mylar balloon that's Elmo's head. It's only a dollar! That's a steal.

Fishing with Dorothy
The children fished over a sheet and would catch a prize.

Sesame Street Bowling

The kids loved rolling and throwing the ball and the "pins".

Oscar's Trash Basketball

Elmo and Big Bird Party Favors

Sesame Street Character Oreo Pops

Cookie Monster Cake
We got this at Smith's for about $15, which was a great deal considering we didn't have to spend the time decorating it ourselves!

Wednesday, February 22, 2012
Free Nikon D800
Pin It

Pictureline is giving away a FREE Nikon D800 Camera. You simply "like" their facebook page and then click on the giveaway section on the side and fill out the form. So easy! Click here to enter!
Monday, February 20, 2012
Tiered Ruffle Skirt
Pin It

My daughter turned two this last week. For one of her birthday presents, I made her this cute tiered ruffle skirt. While it took a little bit to make, it wasn't that difficult. I used this tutorial by a girl and a glue gun you should definitely make one for yourself, your daughter, your niece or anyone else you can think of. I seriously love it!


My daughter turned two this last week. For one of her birthday presents, I made her this cute tiered ruffle skirt. While it took a little bit to make, it wasn't that difficult. I used this tutorial by a girl and a glue gun you should definitely make one for yourself, your daughter, your niece or anyone else you can think of. I seriously love it!

Saturday, December 31, 2011
New Addition
Pin It
Sorry for the break in posts. I have been a bit busy lately. A couple weeks ago I found out my baby was IUGR (intrauterine growth restricted). He was measuring nearly 4 weeks too small. I was just over 36 weeks along when we found this out. They decided to induce me early so he could get the nourishment he needed outside of the womb since he wasn't getting enough inside.
So on Monday December 26th I was induced. Baby's heart rate started to drop every contraction, so I had to get a c-section. Baby boy was born at 11:54 a.m. weighing in at 4 pounds 15 ounces and 17 inches long.
He's had a bit of a challenge eating and is currently in the NICU. We're hoping he can come home soon. We sure do love our little guy!

So on Monday December 26th I was induced. Baby's heart rate started to drop every contraction, so I had to get a c-section. Baby boy was born at 11:54 a.m. weighing in at 4 pounds 15 ounces and 17 inches long.
He's had a bit of a challenge eating and is currently in the NICU. We're hoping he can come home soon. We sure do love our little guy!

Tuesday, December 13, 2011
Car Seat Cover Tutorial
Pin It

I realize there are a lot of tutorials for car seat covers out there, but I decided to make one of my own. I tried to make it a little more easy to follow than some of the tutorials I've seen. Let me know if you have any questions!
What you will need:
1 yard of main material
1 yard of contrasting material
Sewable Velcro
Thread
Straight pins
Scissors
Fabric marker
Tape measurer
Straight edge
Plate
Embellishments (buttons, ribbons, etc)
Not necessary, but nice to have:
Rotary mat
Rotary cutter
Rotary ruler
Binding tape
First you'll want to fold your fabric in half and cut it 17" wide and 42" long. This will leave you with a rectangle that is 34"x 42". You also need to cut 2 rectangles of each fabric that are 3"x 7 1/2" for your straps.
 Once you have cut both fabrics to the correct size, use a plate to help you round the edges of your rectangles. I found it best to cut both fabrics at the same time so the corners would match up. If you have a really sharp rotary cutter, you are able to cut all the corners and both fabrics at the same time. If you don't have a good rotary cutter, you can use a fabric marker to draw the rounded edge and then cut it with scissors.


 Fold your cover in half and measure 18" from the top and then 3" over and draw a 2" line. Do this on both sides. These lines are where you will sew on your straps. FYI the 18" side is the back of your cover.


 Line up the line you drew on your strap with the line you previously drew on your cover. You'll want to line them up so that the part of your strap that you want to be on top will be on the drawn line. Make sure that the 18 inches is the back part of your cover. Once you have pinned the straps in place sew a square around those two lines. Attach your straps to the car seat and you're done!


I realize there are a lot of tutorials for car seat covers out there, but I decided to make one of my own. I tried to make it a little more easy to follow than some of the tutorials I've seen. Let me know if you have any questions!
What you will need:
1 yard of main material
1 yard of contrasting material
Sewable Velcro
Thread
Straight pins
Scissors
Fabric marker
Tape measurer
Straight edge
Plate
Embellishments (buttons, ribbons, etc)
Not necessary, but nice to have:
Rotary mat
Rotary cutter
Rotary ruler
Binding tape
First you'll want to fold your fabric in half and cut it 17" wide and 42" long. This will leave you with a rectangle that is 34"x 42". You also need to cut 2 rectangles of each fabric that are 3"x 7 1/2" for your straps.


Here's the cut corners.

Line up fabrics right sides together and sew around the outside using a 1/4" seam. Make sure to leave a few inches open though so you can flip it right side out.

Before flipping it right-side-out, cut little notches in the around the corners (careful not to cut your seam) to help your edges to stay nice and round.

You can finish your edge however you like. I decided to use binding tape. Some other options are to just leave it as is, but make sure to iron the seams so they are nice and sharp, you could go around the outside edge with a 1/8" seam, or your could serge around the outside.


With your 3" x 7 1/2" rectangles, sew right sides together. Once again leaving an opening so you can flip it right-side-out.

Cut the corners a bit before flipping it so you can have a sharper edge.

Once it's been flipped right-side-out, iron the seams and then sew a 1/8" seam around the outside - making sure to close up the open area.

Figure out which fabric you'd like to show on your straps. I wanted to keep them matching the top fabric and attach velcro accordingly.


Here is my line.

Next take your straps and draw lines at 2 1/2" from the top and from the bottom.

Here is a little diagram to show you the measurements of those lines.


Here is the finished product.

I apologize if that was confusing. Please ask me questions if you have any!
Subscribe to:
Posts (Atom)